
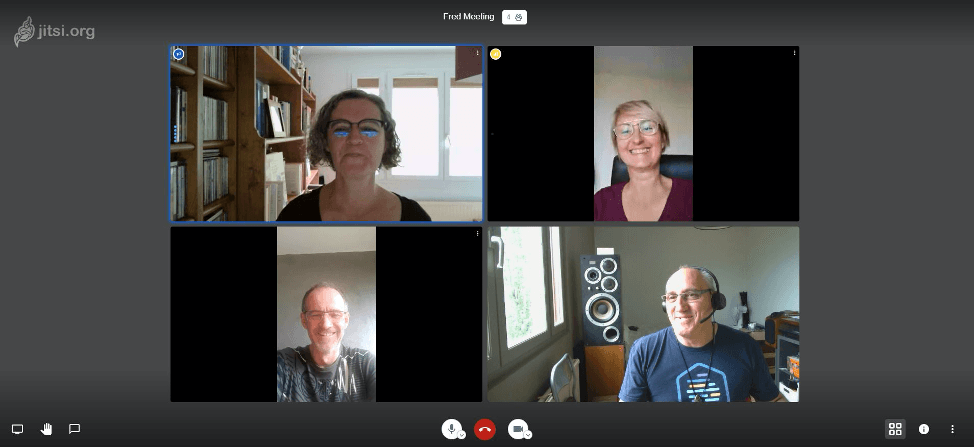
Along with half of the world’s population, I find myself working from home due to sheltering requirements imposed on us by the COVID-19 pandemic. In these troubled times, communication with my friends and family have become critical. I found that I needed ways to stay in touch with them easily. Of course, mobile apps offer a great diversity of options to stay in touch with one another. But conducting a multi-user video conference on a mobile phone is not very easy nor is it convenient.
There are many people today who are looking for ways to virtually connect through video conferencing. From a more professional standpoint, teachers need to be able to instruct and stay in touch with their students. Small companies could use it for meetings. Doctor/patient interactions could also benefit from such a tool. But it would need to be very inexpensive (i.e. free) and easy to use.
As a Hewlett Packard Enterprise (HPE) employee, the company offers us many ways to video conference one another, i.e. through Teams, Skype, and Zoom. Even though these technologies try to make it easy for everyone to use and affordable, I thought I might check on the open source side of the world to see what was available there as well.
Zoom is free for 40 minutes. That’s nice, but is it enough? Looking a little deeper, I found Jitsi Meet. Jitsi is free and ready to go whenever you want. Just open the link and start your meeting. That’s all it takes.
For those who are a bit more technical, you may want consider setting up your own Jitsi Meet server at home. This could be a service you could deliver to your family and friends that would offer you a bit more control and privacy, as you wouldn’t have to rely on an external provider. To help those of you who may be interested in setting up your own Jitsi Meet instance, I thought I’d share my experience. In this post, I’ll run you through the installation process and show you how to use it.
What is Jitsi?
Jitsi is a set of open-source projects that allows you to easily build and deploy secure videoconferencing solutions. At the heart of Jitsi are two projects, Jitsi Videobridge and Jitsi Meet. These projects allow you to have conferences on the internet, while other projects in the community enable features such as audio, dial-in, recording, and simulcasting.
Why Jitsi?
Why was I interested in finding an open source-based solution? I wanted a living project with a community behind it in case I ran into issues or required support. I also needed a solution that I could set up myself and would not require too many resources.
Official minimum hardware requirements for the Jitsi Meet server are very low. One gigabyte of memory and one CPU core plus 25 gigabytes of storage should be enough when used on a Linux platform. It can be set up directly on your own hardware or on a virtual machine hosted by your favorite Cloud provider.
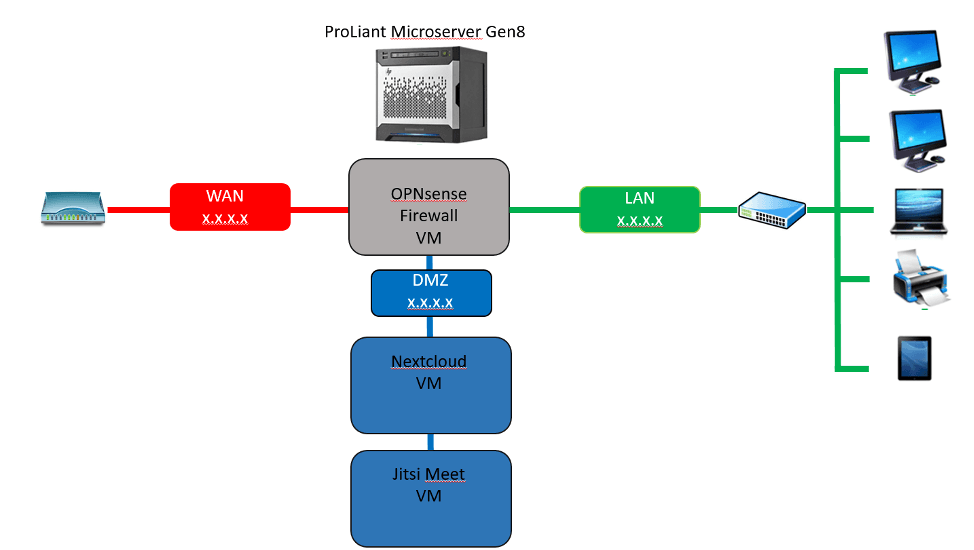
I own a ProLiant Microserver Gen8 at home. It runs a hypervisor and hosts several virtual machines (OPNsense Firewall and Nextcloud server). I use this server to perform tests on new operating systems and software stacks. Since I had some room left on the system, I decided to create a new VM for this new project.
My home network looks like this:
I followed several guides on how to perform the installation:
Jitsi-Meet official install guide: https://github.com/jitsi/jitsi-meet/blob/master/doc/quick-install.md
HA Proxy – Let’s Encrypt: https://forum.opnsense.org/index.php?topic=12126.0
Advanced Configuration: Behind NAT configuration https://github.com/jitsi/jitsi-meet/blob/master/doc/quick-install.md
Secure Domain: First four steps only. https://github.com/jitsi/jicofo#secure-domain
Requirements
- A server running Ubuntu 20.04 LTS.
- A non-root user with sudo privileges.
Getting Started with installing Jitsi Meet on Ubuntu 20.04
Before starting, update your system with the latest version with the following command:
sudo apt-get update -y
sudo apt-get upgrade -y
Once your system is up-to-date, restart your system to apply the changes.
Next, you will need to set up a hostname and FQDN to your system. You can do this by running the following command:
sudo hostnamectl set-hostname server1
Next, open /etc/hosts file and add FQDN:
sudo nano /etc/hosts
Add the following line:
127.0.1.1 server1.example.com server1
Save and close the file. Then, verify the hostname with the following command:
hostname -f
The result shall be:
root@server1:/# hostname -f
server1.example.com
Install Java
Next, you will need to install Java to your system. You can install OpenJDK JRE 8 by running the following command:
sudo apt-get install -y openjdk-8-jre-headless -y
Once the Java is installed, verify the Java version with the following command:
java -version
Output:
openjdk version "1.8.0_252"
OpenJDK Runtime Environment (build 1.8.0_252-8u252-b09-1ubuntu1-b09)
OpenJDK 64-Bit Server VM (build 25.252-b09, mixed mode)
Install Nginx
Jitsi Meet uses Nginx as a reverse proxy. So you will need to install it to your system. You can install it with the following command:
sudo apt-get install nginx -y
Once the Nginx is installed, you can check the Nginx service with the following command:
sudo systemctl status nginx
Output:
Synchronizing state of nginx.service with SysV service script with /lib/systemd/systemd-sysv-install.
Executing: /lib/systemd/systemd-sysv-install enable nginx
root@server1:/home/administrator# sudo systemctl status nginx
● nginx.service - A high performance web server and a reverse proxy server Loaded: loaded (/lib/systemd/system/nginx.service; enabled; vendor preset: enabled) Active: active (running) since Wed 2020-06-17 11:56:22 UTC; 12s ago Docs: man:nginx(8) Main PID: 34894 (nginx) Tasks: 3 (limit: 2275) Memory: 3.6M CGroup: /system.slice/nginx.service ├─34894 nginx: master process /usr/sbin/nginx -g daemon on; master_process on; ├─34895 nginx: worker process └─34896 nginx: worker process
Jun 17 11:56:21 server1 systemd[1]: Starting A high performance web server and a reverse proxy server...
Jun 17 11:56:22 server1 systemd[1]: Started A high performance web server and a reverse proxy server.
Jitsi Meet Install
By default, Jitsi Meet is not available in the Ubuntu 18.04 default repository. So you will need to add the repository for that.
You can do this by running the following command:
wget -qO - https://download.jitsi.org/jitsi-key.gpg.key | sudo apt-key add -
sudo sh -c "echo 'deb https://download.jitsi.org stable/' > /etc/apt/sources.list.d/jitsi.list"
Next, update the repository and install Jitsi Meet with the following command:
sudo apt-get update -y
sudo apt-get install jitsi-meet -y
During the installation process, you will need to provide your hostname as shown below:
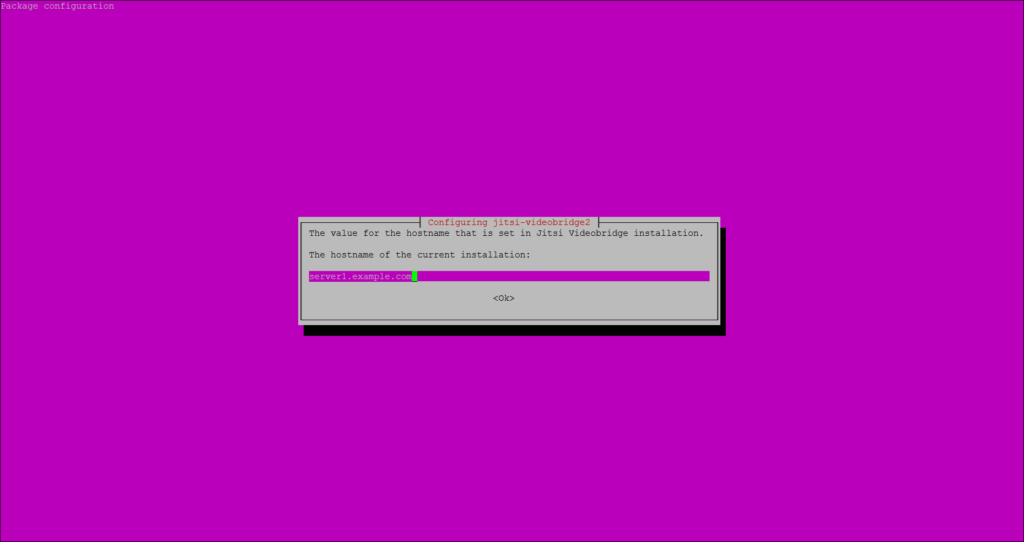
Provide your hostname and click on the OK button. You will be asked to select the SSL certificate as shown below:
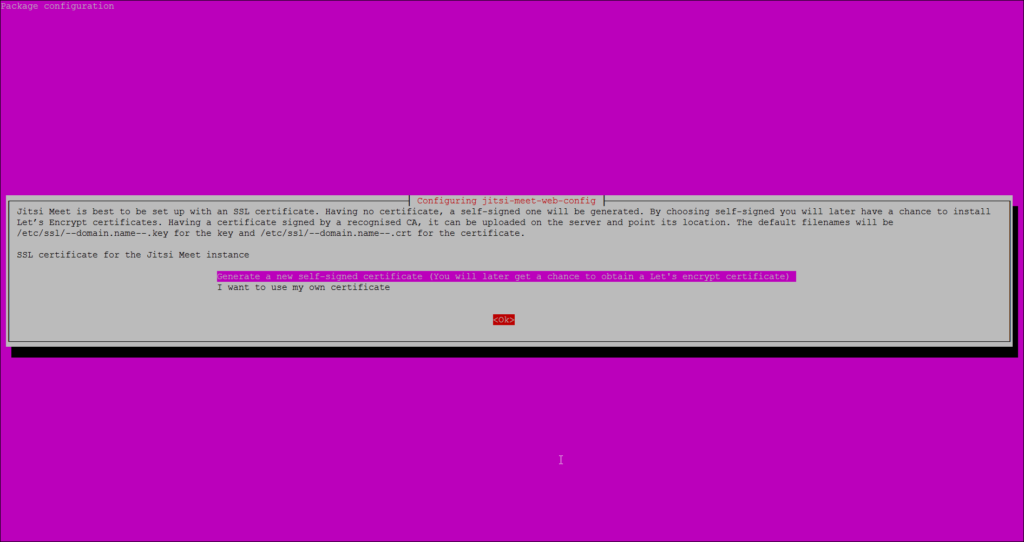
Select the first option and click on the Ok button to start the installation.
Access Jitsi Meet
Jitsi Meet is now up and listening on port 443. Open your web browser and type the URL https://server1.example.com or https://your-server-ip. You will be redirected to the following page:
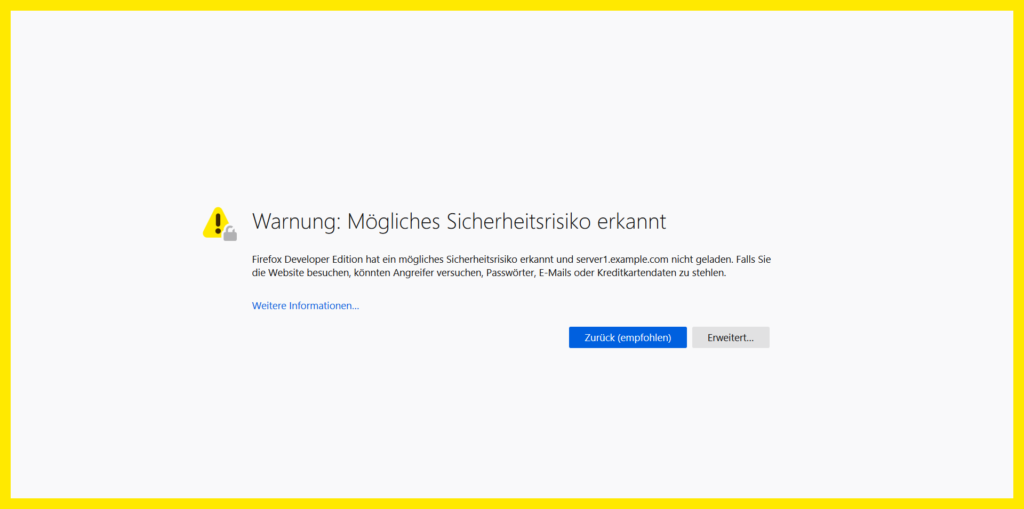
This warning appears as the site is currently protected by a self-signed SSL certificate. Accept the warning to proceed. You can later exchange the SSL certificate to an officially signed one e.g. from let’s encrypt to avoid this error.
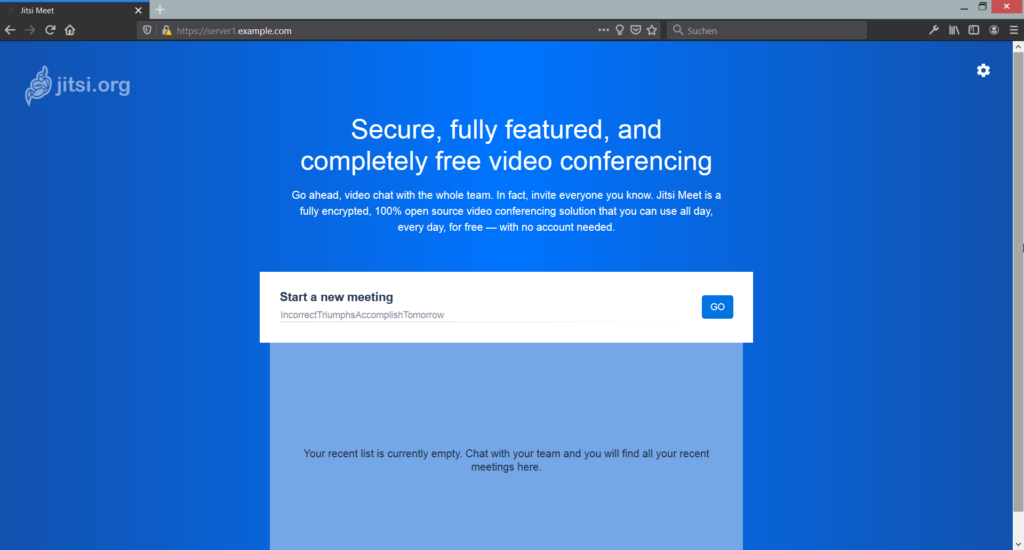
Here, provide the room name as you wish and click on the GO button. You should see the following page:
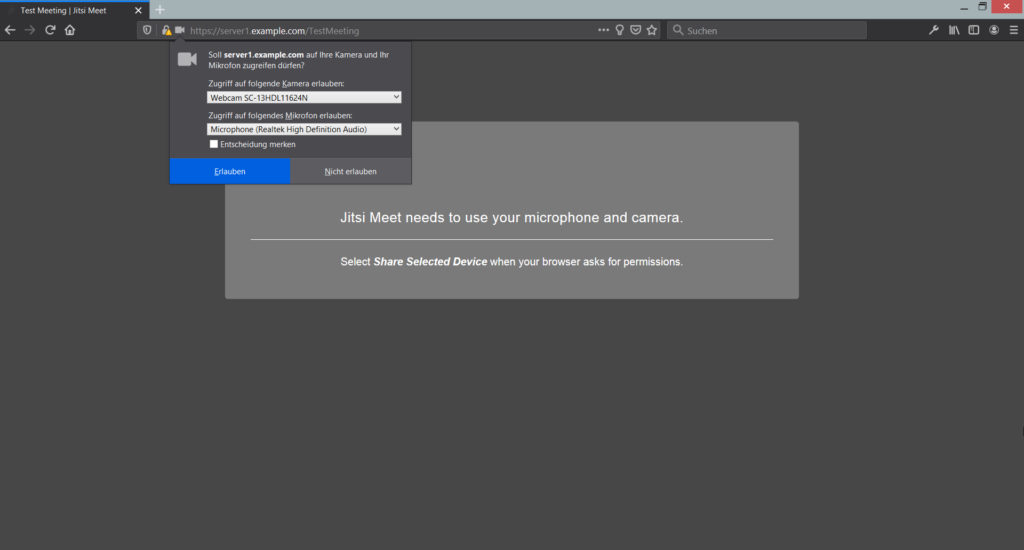
Click on the Allow button to start the live video conference.


