Ubuntu 22.04 is out in the wild and most of the cloud providers has it listed in their OS selection. This is an LTS release and is supported until April 2027. Read on how to install WordPress on Ubuntu 22.04 LTS
Objectives of this article are:
- Install latest WordPress(5.9)
- PHP 8.1 / Apache / MariaDB
- Enable http2
- SSL certificate
Update and upgrade the system.
apt update && apt upgradeEnable UFW and enable web and ssh ports only
ufw default allow outgoing
ufw default deny incoming
ufw allow 22 80 443
ufw enable
Installation and configuration
Install PHP, Apache, MariaDB and other required packages.
apt install apache2 mariadb-server libapache2-mod-php8.1 php8.1 php8.1-gmp php8.1-bcmath php8.1-gd php-json php8.1-mysql php8.1-curl php8.1-mbstring php8.1-intl php8.1-imagick php8.1-xml php8.1-zip php8.1-fpm php8.1-redis php8.1-apcu php8.1-opcache php8.1-ldap bzip2 zip unzip imagemagick vim ffmpeg redis-server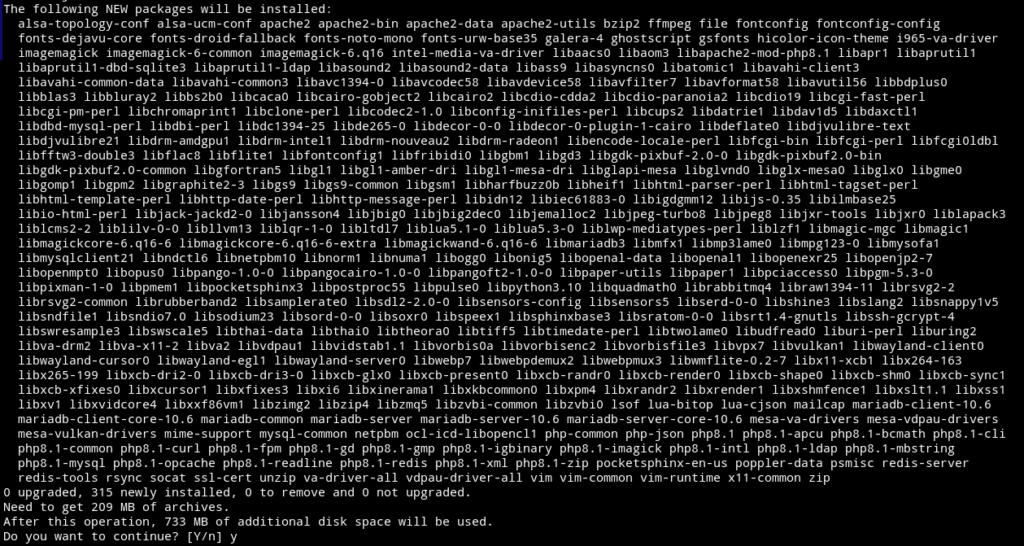
Apache Modules
a2enmod ssl rewrite headers proxy proxy_http deflate cache proxy_wstunnel http2 proxy_fcgi env expiresPHP FPM
a2enconf php8.1-fpm
a2dismod php8.1
a2dismod mpm_prefork
a2enmod mpm_event
systemctl restart apache2
Enable them at boot time.
systemctl enable apache2
systemctl enable mariadb
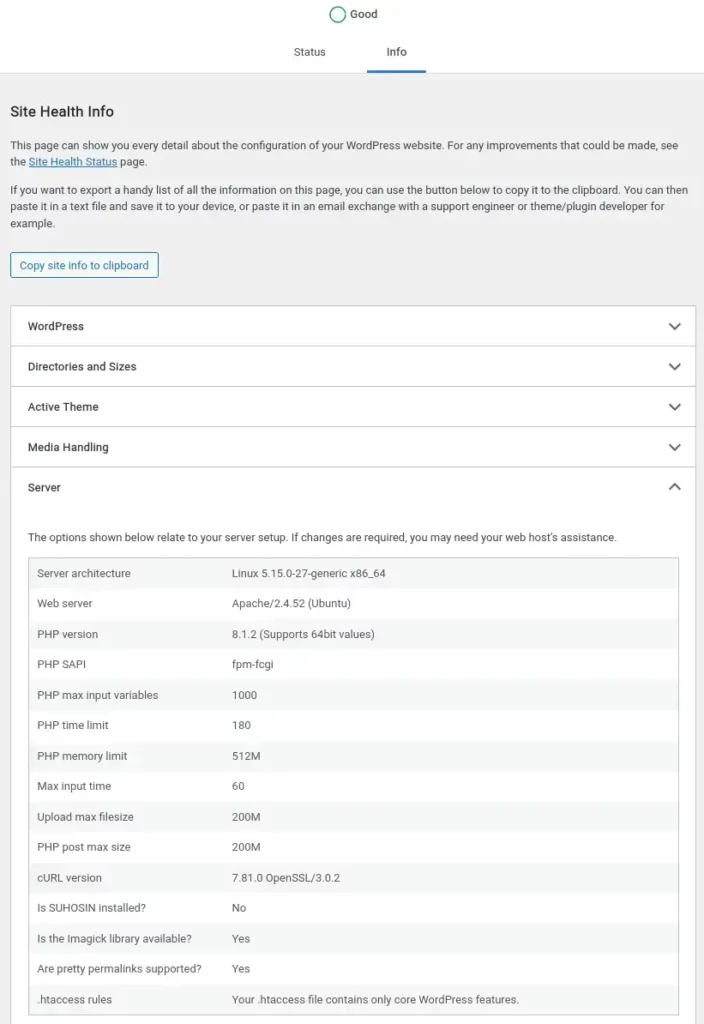
systemctl enable php8.1-fpmUpdate the following in php.ini for best configuration. Change where needed.
sudo vim /etc/php/8.1/fpm/php.ini*Line numbers are for guidance only
output_buffering = off (line 226)max_execution_time = 180 (line 409)memory_limit = 512M (line 430)post_max_size = 200M (line 698)upload_max_filesize = 200M (line 850)date.timezone = Europe/London (line 968)opcache.enable=1 (line 1767)opcache.enable_cli=1 (line 1770)opcache.memory_consumption=128 (line 1773)opcache.interned_strings_buffer=8 (line 1776)opcache.max_accelerated_files=10000 (line 1780)opcache.revalidate_freq=1 (line 1798)opcache.save_comments=1 (line 1805)For timezone check out PHP timezone manual.
Restart PHP FPM and check it’s status.
systemctl restart php8.1-fpm
systemctl status php8.1-fpm
Database setup
Run the following script to secure the database server with some initial configurations suggested by the script.
/usr/bin/mysql_secure_installation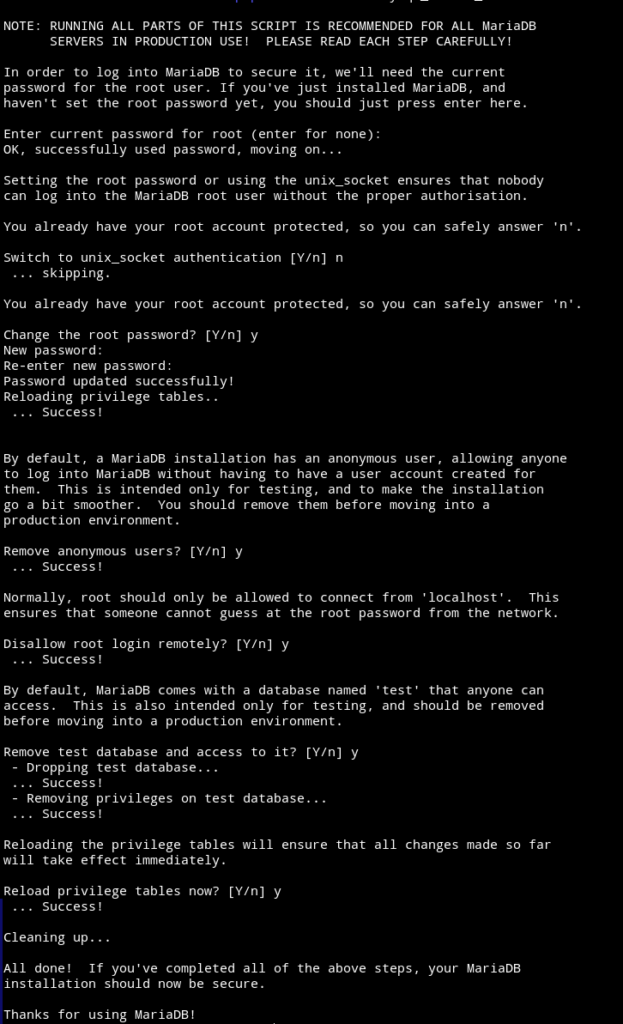
Login to the database server and create a wordpress database, assign user to it.
sudo mysql -u root -p
create database wordpress CHARACTER SET utf8mb4 COLLATE utf8mb4_general_ci;
grant all on wordpress.* to 'wp_user'@'localhost' identified by 'PASSWORD';
flush privileges;
exit
Download WordPress
cd /var/www/wp
wget https://wordpress.org/latest.zip
Unzip the package and remove it afterwards.
unzip latest.zip
rm latest.zip
Move the files to the web server root directory.
mv wordpress/* ./
rm -r wordpress
Change owner of the web root.
chown -R www-data:www-data /var/www/wpApache virtual host
cd /etc/apache2/sites-available/
nano domain.com.conf
Paste the following in it.
<VirtualHost *:80>	ServerName DOMAIN.COMServerAlias DOMAIN.COMDocumentRoot /var/www/wp	<Directory "/var/www/wp">	AllowOverride All	Options -Indexes +FollowSymLinks	</Directory>	ErrorLog /var/log/apache2/DOMAIN.COM-error.log	#CustomLog /var/log/apache2/DOMAIN.COM-requests.log combined
</VirtualHost>
Enable this configuration and restart Apache.
a2dissite 000-default.conf
a2ensite domain.com.conf
apachectl configtest
systemctl reload apache2
Installation
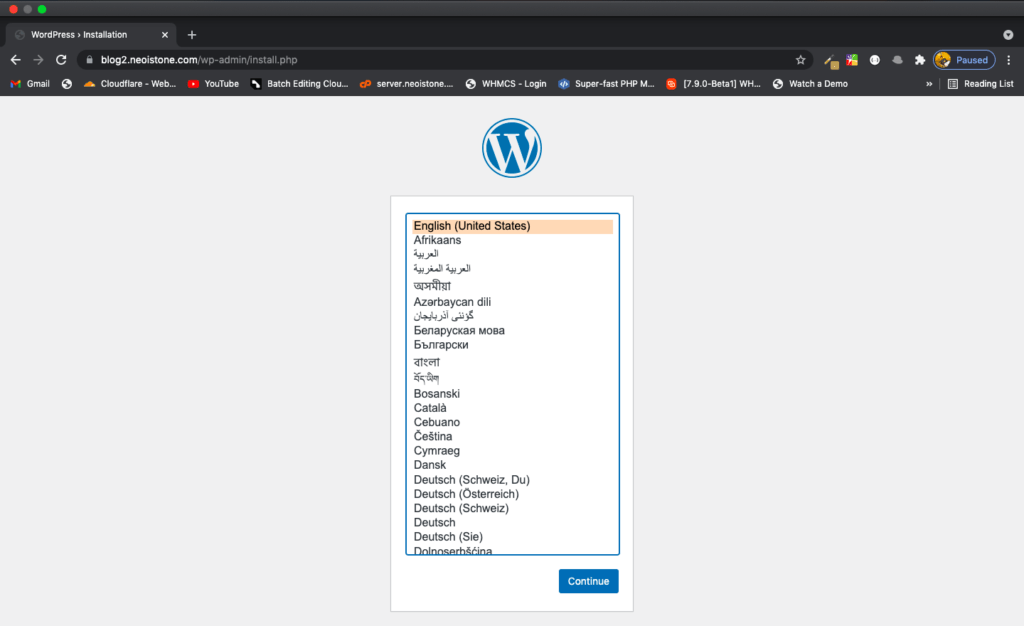
Open the domain/url in a web browser and start the installation.
1- Select language
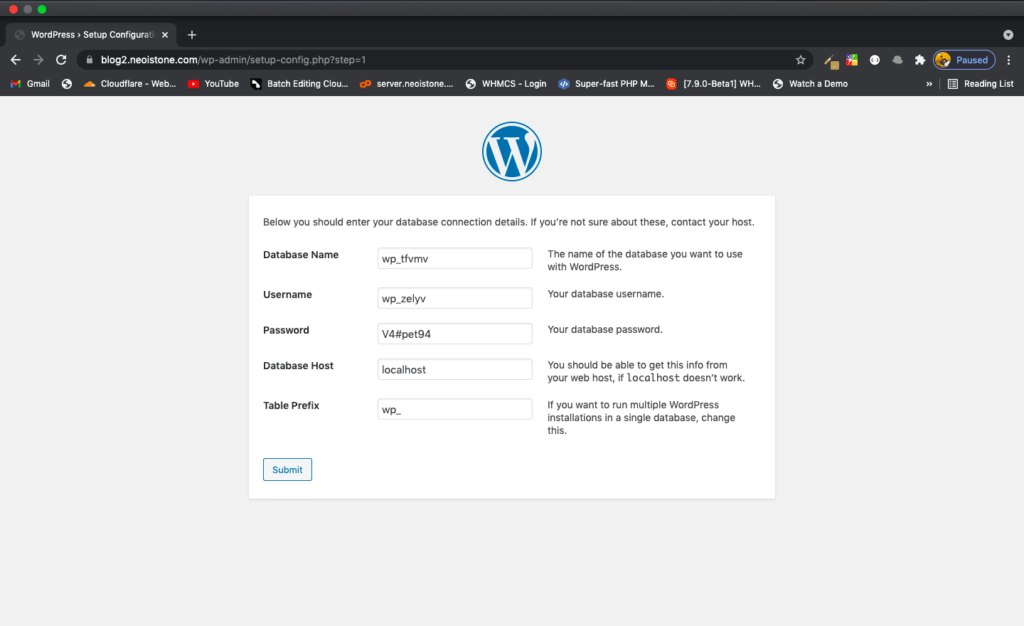
2- Enter database credentials

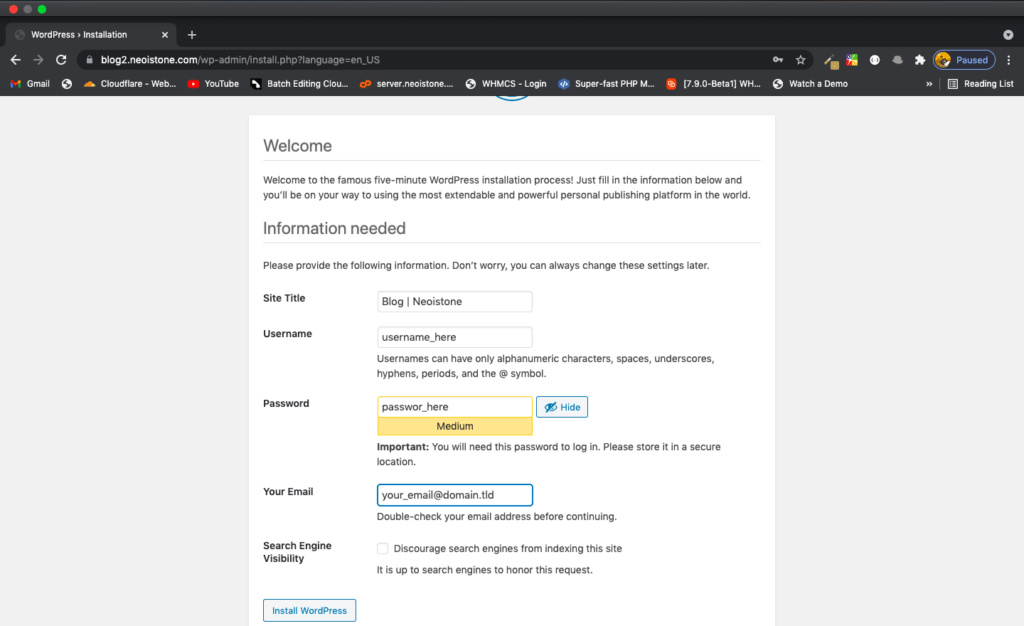
3- Enter your site basic details
4- Dashboard after installation
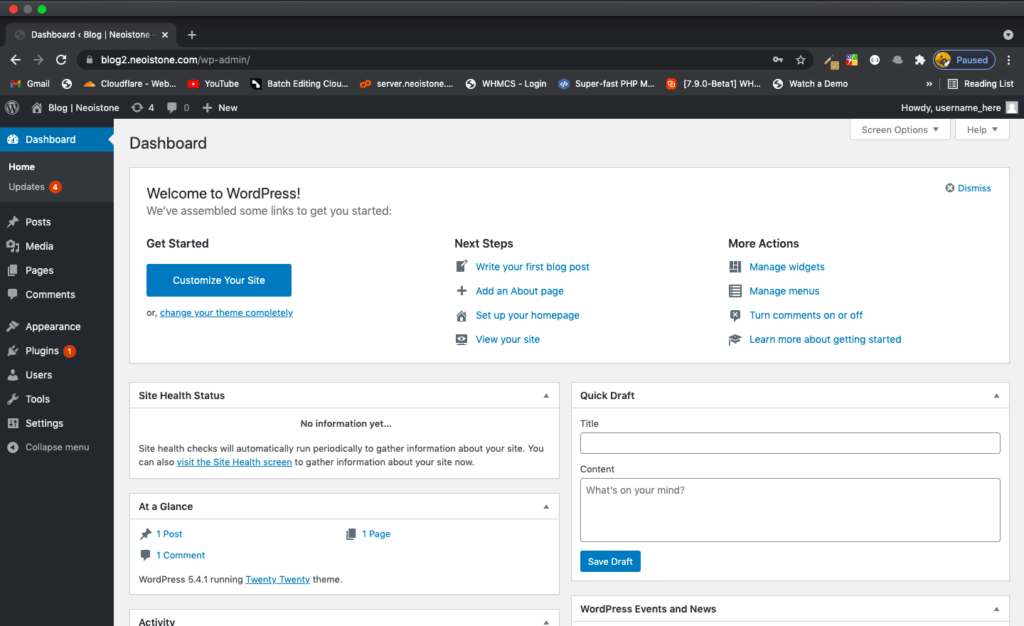
Good job, you have successfully installed WordPress.
SSL certificate
There are two ways you can have SSL in front of your site. One is to use Certbot from Let’s Encrypt and get a free SSL, another is to get it from an authorized vendor of your choice.
Certbot
Install Certbot and get a certificate for web root. Check the link below for renewals and details.
snap install certbot --classic
certbot certonly --webroot -w /var/www/wp -d DOAMIN.COM
Vendor
Create a CSR and private key using openssl and use the CSR in the vendor site to get the SSL certificate.
Example command
openssl req -new -newkey rsa:4096 -nodes -keyout server.key –out server.csrApache Configuration
Once you have SSL certificate ready you can update your Apache virtual host with 443 block and redirect from port 80 to 443.
Final virtual host configuration /etc/apache2/sites-available/wp.conf
*I have used SSL from let’s encrypt. You can change that with your own certificates by changing the paths.
<VirtualHost *:80>	ServerName DOMAIN.COMServerAlias www.DOMAIN.COMDocumentRoot /var/www/wp	RewriteEngine On	RewriteCond %{HTTPS} off	RewriteRule (.*) https://%{HTTP_HOST}%{REQUEST_URI}	<Directory "/var/www/wp">	AllowOverride All	Options -Indexes +FollowSymLinks	</Directory>	ErrorLog /var/log/apache2/DOMAIN.COM-error.log	#CustomLog /var/log/apache2/DOMAIN.COM-requests.log combined
</VirtualHost>
<VirtualHost *:443>	ServerName DOMAIN.COMServerAlias www.DOMAIN.COMDocumentRoot /var/www/wp	SSLCipherSuite EECDH+AESGCM:EDH+AESGCM:AES256+EECDH:ECDHE-RSA-AES128-SHA:DHE-RSA-AES128-GCM-SHA256:AES256+EDH:ECDHE-RSA-AES256-GCM-SHA384:ECDHE-RSA-AES128-GCM-SHA256:DHE-RSA-AES256-GCM-SHA384:ECDHE-RSA-AES256-SHA384:ECDHE-RSA-AES128-SHA256:ECDHE-RSA-AES256-SHA:DHE-RSA-AES256-SHA256:DHE-RSA-AES128-SHA256:DHE-RSA-AES256-SHA:DHE-RSA-AES128-SHA:ECDHE-RSA-DES-CBC3-SHA:EDH-RSA-DES-CBC3-SHA:AES256-GCM-SHA384:AES128-GCM-SHA256:AES256-SHA256:AES128-SHA256:AES256-SHA:AES128-SHA:DES-CBC3-SHA:HIGH:!aNULL:!eNULL:!EXPORT:!DES:!MD5:!PSK:!RC4	SSLProtocol All -SSLv2 -SSLv3 -TLSv1 -TLSv1.1	SSLHonorCipherOrder On	Header always set Strict-Transport-Security "max-age=63072000; includeSubDomains; preload"	Header always set X-Frame-Options DENY	Header always set X-Content-Type-Options nosniff	Protocols h2 http/1.1	<Directory "/var/www/wp">	AllowOverride All	Options -Indexes +FollowSymLinks	</Directory>	<FilesMatch ".(ico|pdf|flv|jpg|jpeg|png|gif|js|css|swf|ttf|woff)$">	Header set Cache-Control "max-age=31536000, public"	</FilesMatch>	ErrorLog /var/log/apache2/DOMAIN.COM-error.log	#CustomLog /var/log/apache2/DOMAIN.COM-requests.log combined	SSLEngine on	SSLCertificateKeyFile /etc/letsencrypt/live/DOMAIN.COM/privkey.pem	SSLCertificateFile /etc/letsencrypt/live/DOMAIN.COM/fullchain.pem
</VirtualHost>
Check the configuration and restart Apache.
apachectl configtest
systemctl restart apache2